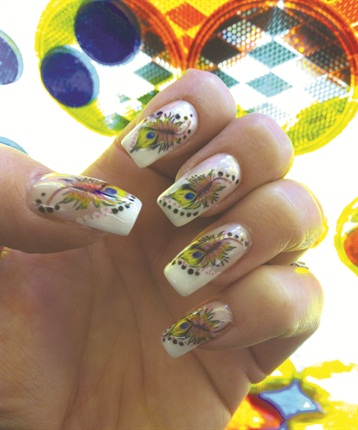
You want make best nail, learn how to apply high-quality decals
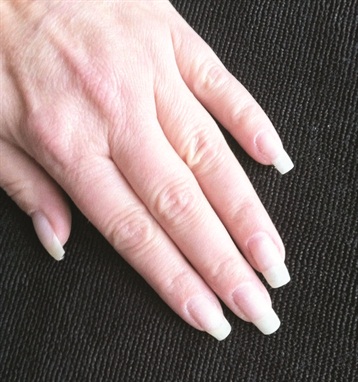
Step 1. Prepare the client’s nails as you would for a fill. Remove old paint on nail, clean up the cuticles, and trim the free edge.
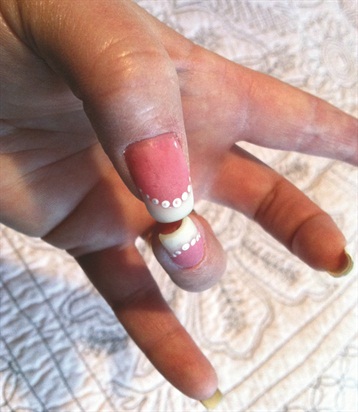
Step 2. Create the look you want under the decal with gel. Light colors work the best. (But you can always change the color after you top coat over the decal by painting gel around the decal and using a small brush to get in close around the design.)
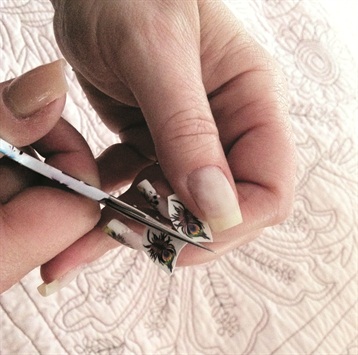
Step 3. Cut the decal out as close to the design as possible, and room temperature water for about 20 seconds or use tweezers to place it in cool . Take it out and blot off the extra water on the towel, and place it flat on the paper towel. Begin lightly poking at the center of the image with the tweezers and it will release from the backing.
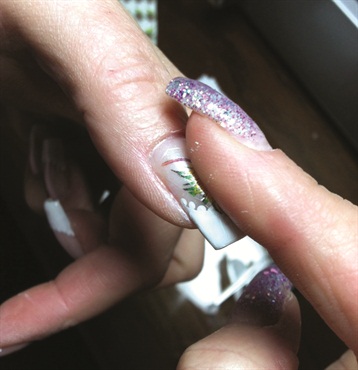
Step 4. Use tweezers to grab the released part on the edge and place it on the nail in the desired position. Push your finger down in the center of the decal and roll it off in all directions. This secures the decal and removes any leftover water. You can paint around the decal with gel to change the background color of the nail, or put more gel top coat around the design and push glitter into the gel. Finish with top coat. We have done, good luck.