What is a blowout in the first place? The term gets thrown around a lot but, basically, it refers to the process of drying hair to achieve a sleek, smooth look without using flat irons or any other hair devices. At a salon, a blowout service will typically include a wash, blow dry and styling afterwards. Blowouts are a great look for many different occasions and many women want the look of a blowout when there isn’t quite enough time to get to the salon. Luckily, there is a way to give yourself a great looking blowout at home relatively quickly. Here, we will discuss just how to do so and, with a little bit of practice, you should be able to give yourself a similar (but maybe not exact) look to what you get in the salon.
START BY SHOWERING
The first step to any blowout, whether it be at home or at the salon, is to wash your hair with a high quality, non-drying shampoo. After this, you will want to continue by applying a good conditioner to just the ends of the hair to tame those ends without weighing down the rest of the hair. For the best results, you should use a conditioner which addresses your individual hair issues such as frizz, split ends or conditioning for color-treated hair.
PREPARING YOUR HAIR
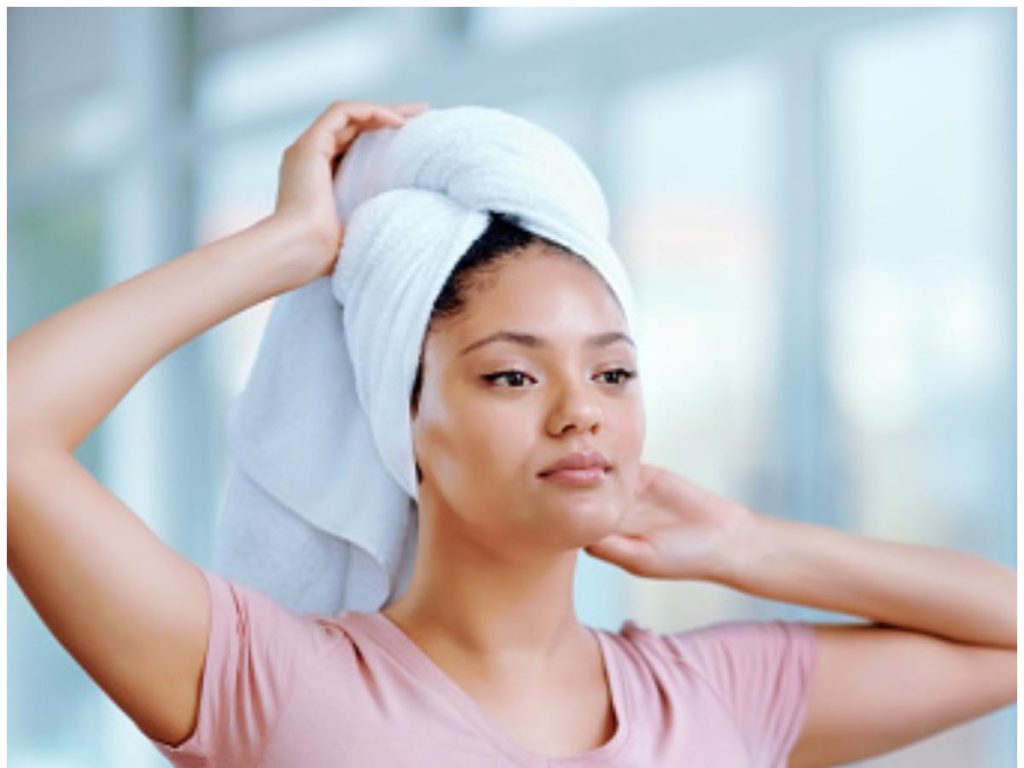
After you’ve gotten out of the shower, you will want to gently remove any excess moisture from your hair with a towel. This is because, although you will want to heat treat your hair while damp, you don’t want your hair to be soaking wet. If your hair is soaking wet, then you will need to blow dry it for a longer period of time which can not only cause frizz (which is antithetical to a blowout), but it can also damage your hair over time. The goal here is to achieve the objective of the blow out while exposing your hair to as little heat treatment as possible. Therefore, the best method to remove excess moisture from your hair once you are out of the shower is to gently wrap your hair into a top bun in a cotton or microfiber towel and let it sit for a while. Trying to friction dry your hair with a towel can, similarly, cause frizz and damage.
PROTECTING YOUR HAIR
Before blow drying or heat treating your hair, it is advisable to apply a heat protectant. This is especially true if the blowout look is a look you frequently use or plan to use frequently as heat protectants protect the cuticle of your hair from damage. Although each individual hair strand appears to be only “one strand,” the hair cuticle is actually made up of many fibers which, when damaged, can end up splitting in a “V” shape. Heat protectants help to prevent this cuticle split from happening and this is especially important for color-treated or chemically-treated hair which is already prone to being more fragile. Similar to the process of choosing a shampoo or conditioner, heat protectants should be chosen according to the qualities and special needs of your hair. For instance, there are special heat protectants for color treated hair and someone with fine hair shouldn’t opt for a heavy, oil-based heat protectant as this can weigh down the hair and affect the outcome of the blowout.
LOW TO MEDIUM HEAT DRY
When you have finished thoroughly applying the heat protectant to your hair, you can now blow dry your hair using low to medium heat and utilizing your free hand to shuffle your hair during the process. This should be done until the hair is about 60 to 70 percent dry.
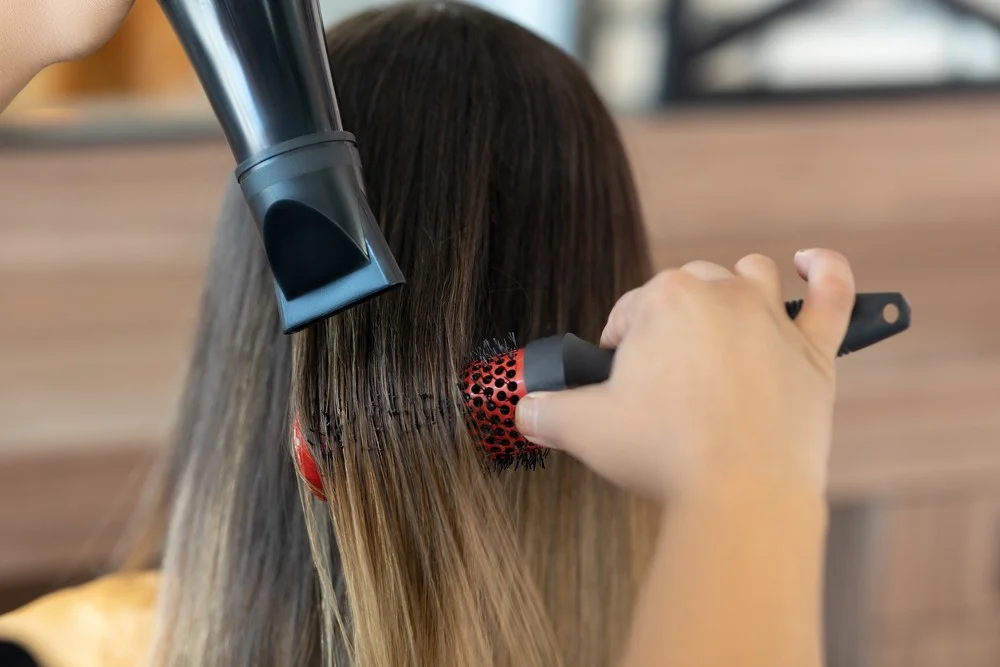
BARREL BRUSH AND DRY
Once hair is 60 to 70 percent dry, you are ready to begin one of the most important steps to giving yourself a blowout at home. This step involves a cylindrical “barrel brush” which is preferably made out of boar bristles. In this step, you can begin drying your hair in sections using medium heat and the air concentrator extension of your dryer. While drying each section of your hair, slowly roll the hair out with the cylindrical boar bristle brush until the hair is completely dry. As a tip, many experts recommend using low to medium heat as high heat will strip the hair of its bounce and has a higher chance of damaging the hair cuticle.
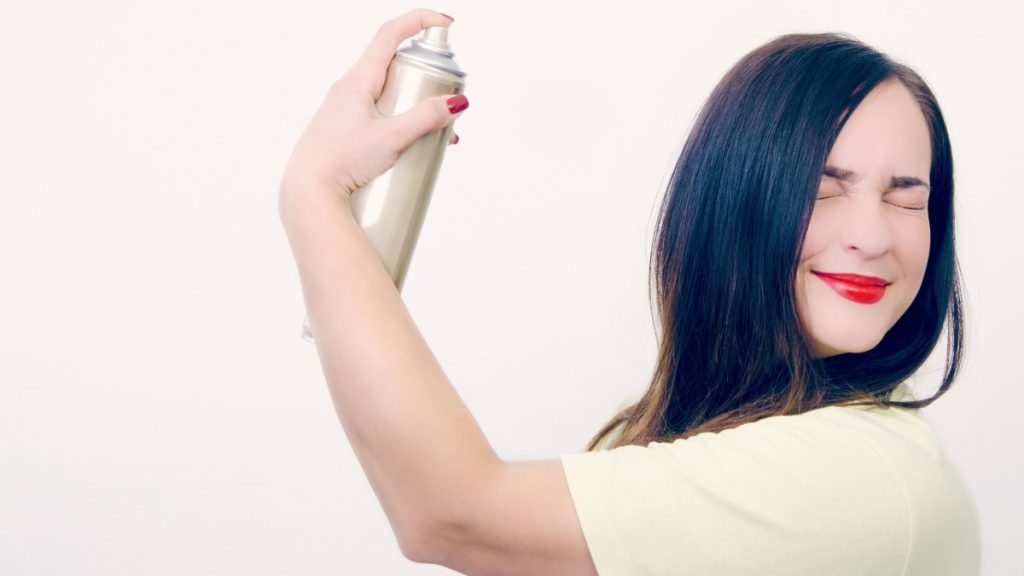
APPLY ANTI-FRIZZ FINISHING CREAM
To complete your home blowout, the final step is to apply a finishing cream to the lengths of the hair in order to seal in moisture and help keep the cuticle sealed. This will also help to fight off any frizz which you might experience.
CONCLUSION
While you may not get exactly the same results with your first home blowout as you would have gotten at the salon, following the steps outlined in this article should get you pretty close. Feel free to take breaks at any point which you feel you need to as certain steps, such as the barrel brush and dry step, can be tiring for your arms when you are performing a blowout for yourself. This is especially true for people with long, thick hair that may take longer to dry.