Getting a facial at the spa is a great way to relax, rejuvenate and improve your skin all at once. However, you don’t have to wait until your next spa appointment to experience a great facial. You can do it right from the comfort of your own home with a few simple steps and ingredients. Here we discuss the entire process step by step so that you can perform it on yourself with confidence.
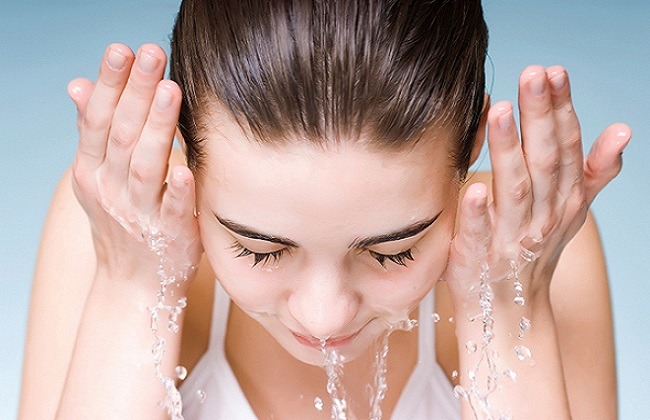
STEP 1 CLEANSING
The first step to a good at-home facial is a great cleansing. If you use makeup, experts suggest a “double cleanse” where the first cleanse is done with a good, dermatologist-approved oil-based cleanser to dissolve the oils in your makeup. After this, rinse your face with lukewarm water to remove the remnants of the oil-based cleanser. Be sure to avoid using water which is too hot as hot water can remove the natural oils in your skin and ultimately decrease the quality of the results you get from your facial. Next, follow up with a cream or foam based cleanser to deep clean pores and remove excess dirt which the oil-based cleanser may have missed.
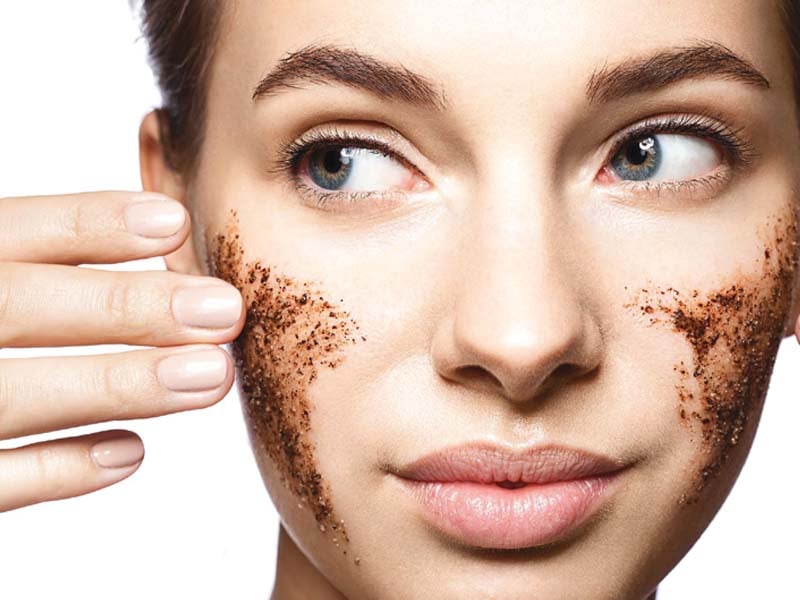
STEP 2 EXFOLIATING
The second step to a great at-home facial is effective exfoliation. Exfoliation, put another way, is the process of removing the top layer of skin, excess oils and anything which may be clogging your pores. This not only leaves your skin fresher and smoother, but also prepares your skin to better absorb nutrients and skincare ingredients in your mask which you will be applying in the next couple steps of your facial. Now, there are a couple different ways to exfoliate; with physical exfoliants or chemical exfoliants. The process of physical exfoliants is more akin to sand paper where an abrasive substance is used to remove the dead skin cells and excess oils. This could be something like an exfoliating sponge or a salt scrub. Chemical exfoliants such as alpha hydroxy acids and beta hydroxy acids use a gentle chemical reaction in order to achieve the same result. There are also combination exfoliators which combine the abrasive materials like salt or sugar scrubs with one or more chemical exfoliators. Ultimately, different people prefer different exfoliation methods but, most experts agree that overly abrasive physical exfoliants are not great for the skin. For this reason, especially for people with sensitive skin, it may be best to opt for a gentle physical exfoliating cream, a chemical exfoliator or a combination formula.
STEP 3 STEAMING YOUR FACE (OPTIONAL)
After your face has been thoroughly cleansed and carefully exfoliated, you can further open your pores and prepare your skin to absorb the nutrients of your mask with a facial steaming. Facial steaming can be done in several ways from the comfort of your home. The best way to do it is with a personal-sized facial steamer. However, if you don’t have one of these devices on hand, you can also give yourself a facial steaming at home by boiling a pot of water and placing your face 6 inches away from the top of the pot while draping a clean towel over your head to contain the heat and steam. Facial steaming should be done for around ten minutes and you can dry your face of excess water by blotting gently with a fresh, clean towel. Facial steaming also increases hydration and circulation within facial tissue so there are some additional benefits of facial steaming unrelated to the reasons to perform a steaming for your home facial.

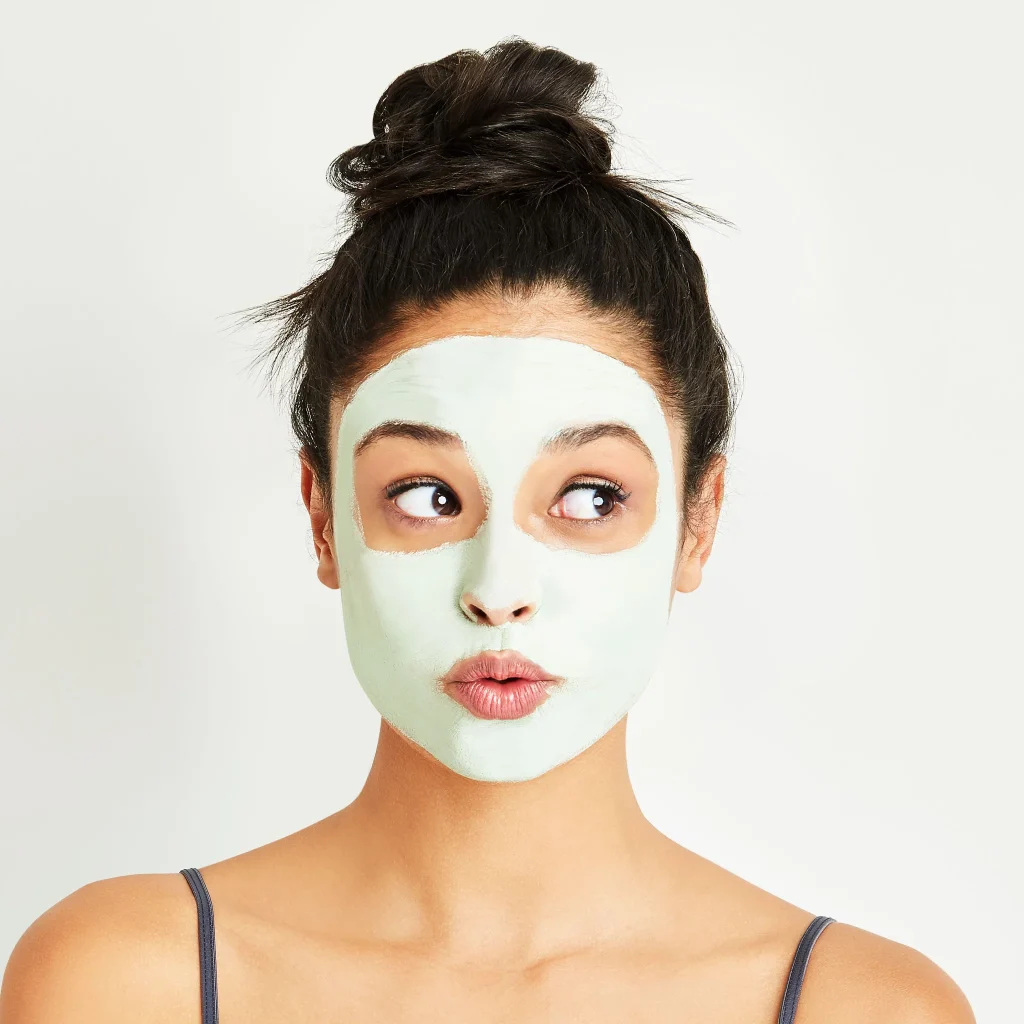
STEP 4 APPLYING A MASK
When you have dried your face after the steaming you can prepare to apply your mask. Clay, sulfur and mud masks are all popular, and traditional, options. Many of these masks will also contain added nutrients like vitamin C, salicylic acid, retinoids or vitamin E for added benefits depending on your individual skincare needs. For instance, someone with acne-prone skin would do better to utilize a mask with acne-fighting ingredients like salicylic acid or retinoids whereas someone with dry skin would do better to utilize a mask with vitamin E because it helps to rehydrate skin. Masks are traditionally left on for 15 to 20 minutes and then washed off with lukewarm water. Some newer masks are intended to be left on overnight but, for the purposes of a home facial, this may be counterproductive as it will delay your ability to finish the facial until the next morning.
STEP 5 MOISTURIZING MASSAGE
To complete the last step of your home facial, after your mask has been washed off and your skin has been blotted dry, you should use a moisturizing ingredient and massage it into your skin gently. It’s important to note that this step should not be skipped, even in people with acne-prone skin. Many people with acne prone skin perform facials on themselves with the goal of improving their acne and then skip this last step under the false assumption that, since acne-prone skin is also typically oily, applying a moisturizer will worsen their problem. So, while it is true that people with acne-prone skin should not use oil-based moisturizers, a gel based moisturizer can actually be beneficial. It can be beneficial because over-drying your acne-prone with lots of washing and home facials can actually cause your body to produce more oil and worsen your acne problem.
CONCLUSION
Now that you have successfully completed your home facial, you should feel proud, relaxed and rejuvenated. Home facials are no replacement for a quality facial at a professional spa but they can help to supplement your skin care regime in a positive way when done correctly. Following these steps carefully will help to ensure that you are helping, not harming, your skin with home facials.